[Android]全てのSSIDの設定方法
ギガぞうWi-Fi よくあるご質問
ギガぞうWi-FiのAndroidでの全てのSSIDの設定手順です。
ギガぞうWi-Fiアプリを起動します。
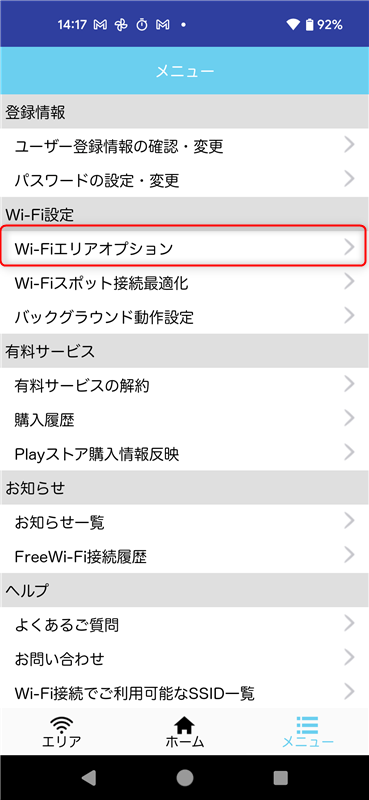
01.TOP>メニュー をタップします。

02.メニューから Wi-Fiエリアオプションをタップします。
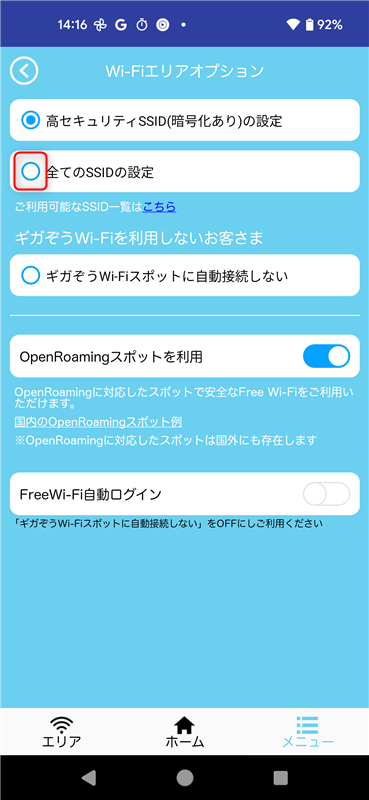
03.全てのSSIDの設定 をタップします。
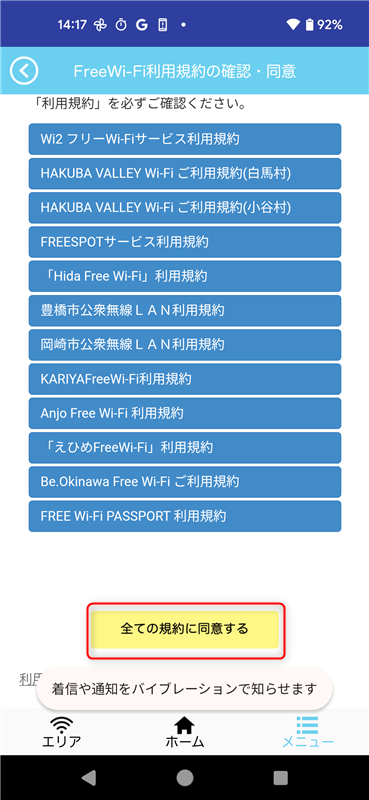
04.下記、ダイアログが表示されます。「全ての規約に同意する」をタップします。
05.下記、ダイアログが表示されます。「OK」をタップします。
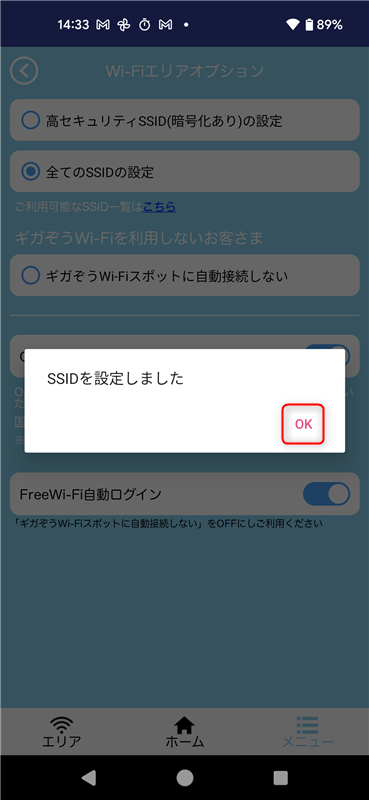
以上で、全てのSSIDの設定が完了となります。
-
※2026年02月01日時点の情報を元に作成されたQ&Aです。
お困りごとは解決しましたか?
本サイトで解決できない場合は以下へご相談ください。